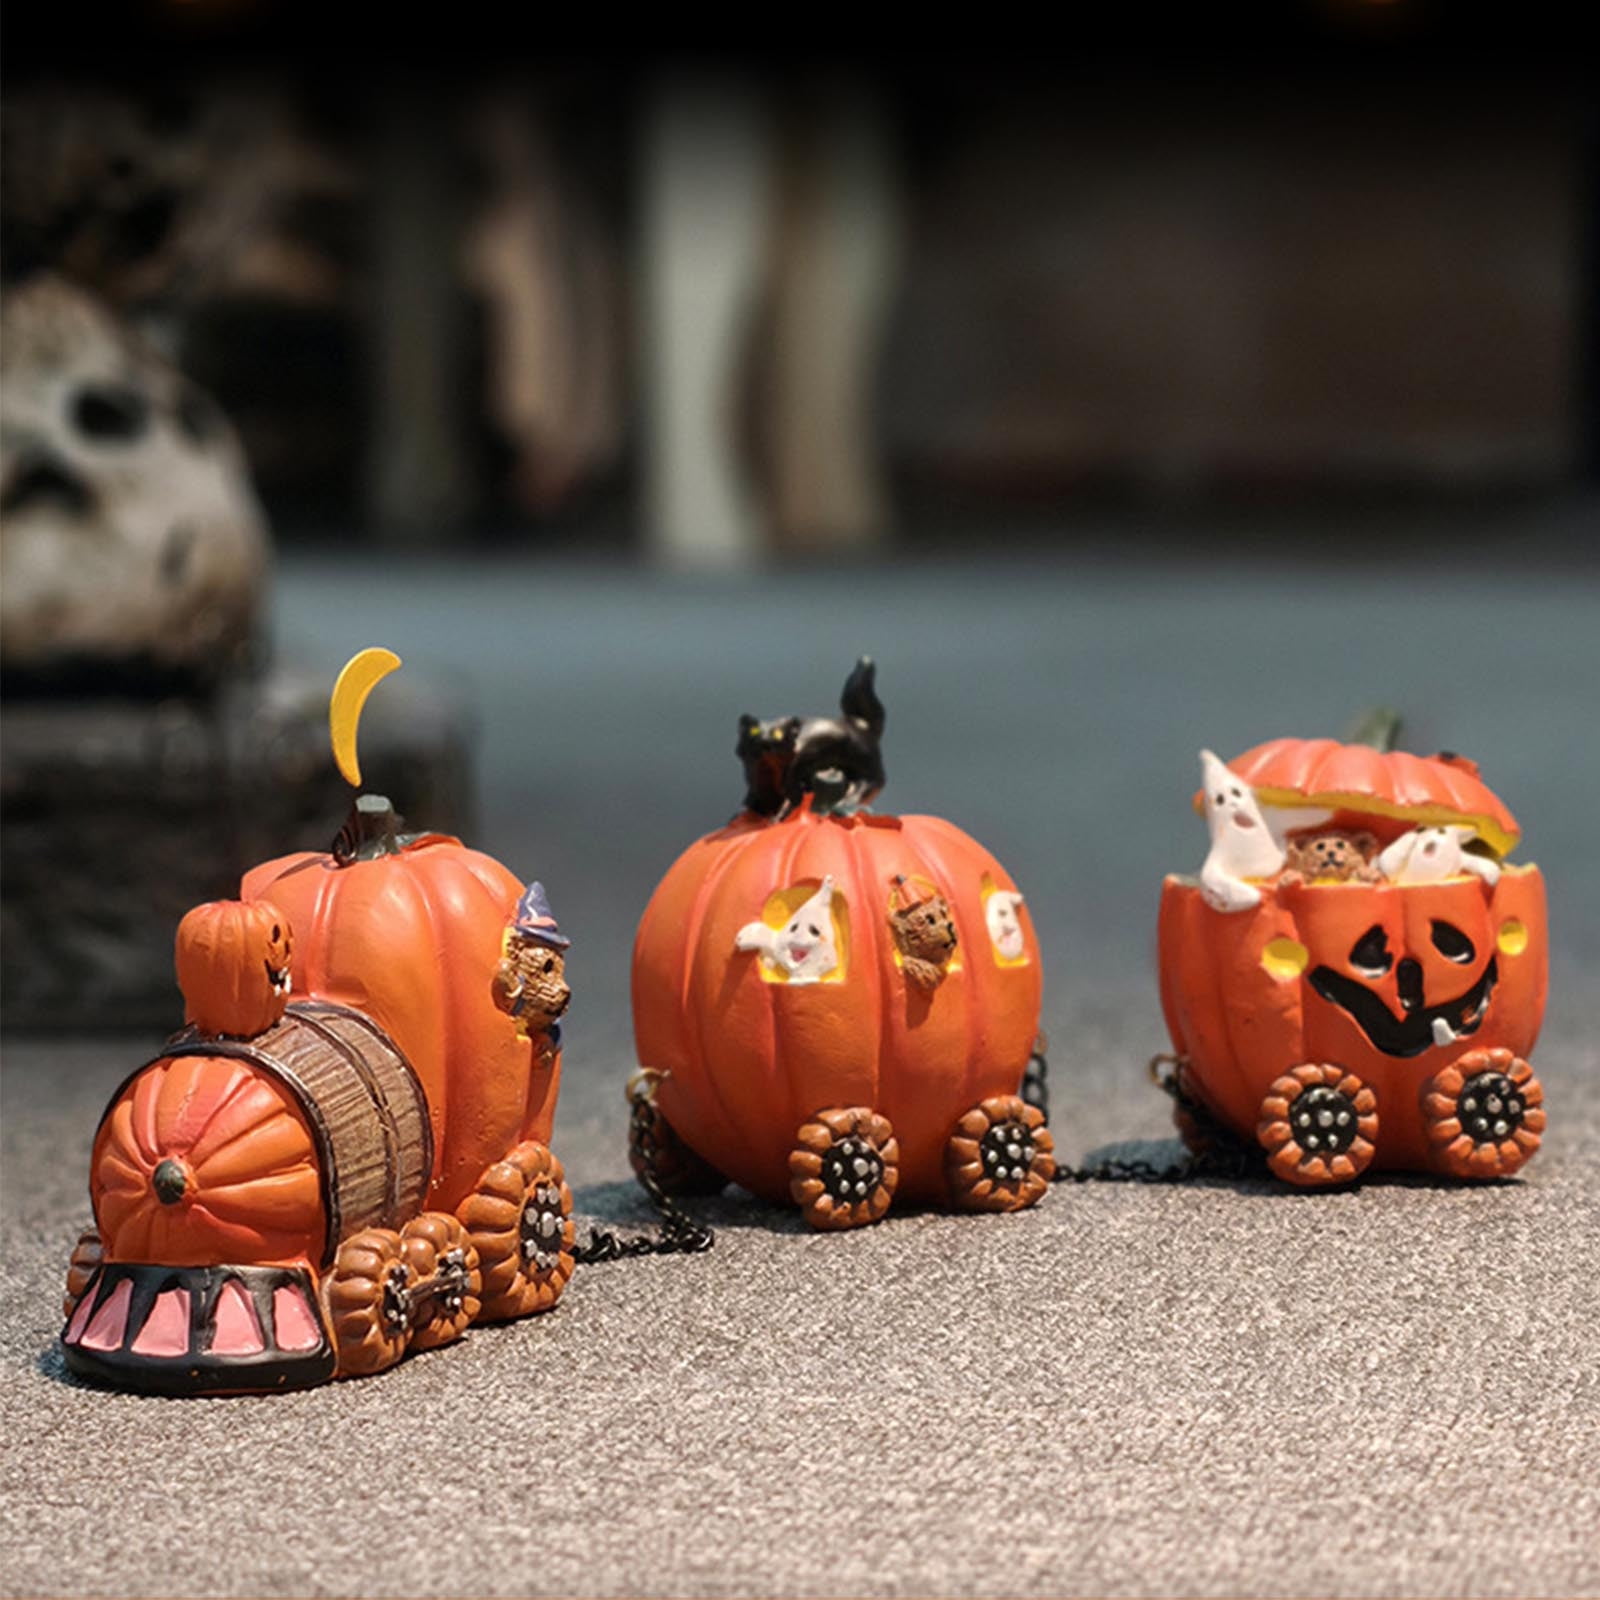
The best pumpkin ideas for 2026 focus on a blend of organic textures, sustainable materials, and "maximalist" porch displays. From sophisticated chinoiserie painting and succulent-topped heirlooms to traditional intaglio carving and smart-LED lanterns, these designs cater to diverse aesthetic preferences while prioritizing durability and eco-friendly preservation techniques for the entire autumn season.
The Evolution of Pumpkin Decorating in 2026
As we move through the 2026 autumn season, the trend in home decor has shifted away from temporary, high-waste plastic ornaments toward authentic, "slow-living" aesthetics. Homeowners are increasingly choosing heirloom pumpkin varieties—such as the pale blue Jarrahdale, the deeply ribbed Musquee de Provence, and the porcelain-white Casper—as the primary canvas for their creativity.
The challenge for most decorators remains longevity. A carved pumpkin typically lasts only five to seven days before succumbing to oxidation and microbial decay. Therefore, the most successful ideas in 2026 emphasize "no-carve" techniques that preserve the integrity of the fruit for weeks, or "strategic carving" that utilizes modern preservation methods to extend the life of festive Jack-o'-lanterns.
Advanced Carving and Etching Techniques
Traditional carving remains a staple of Halloween, but the techniques have become more architectural. In 2026, the focus is on depth and light diffusion rather than simple cut-through shapes.
- Constellation Drill Mapping: Instead of a knife, use a power drill with various bit sizes to recreate celestial maps. When illuminated from within, the pumpkin projects stars across your porch or entryway.
- Intaglio Etching: This involves shaving away only the outer skin (the exocarp) to reveal the lighter flesh beneath. By varying the depth of the shave, you create a 3D effect that glows with different intensities.
- Modern House Numbers: Carve your street address into a large flat-faced pumpkin. This provides functional curb appeal that lasts from September through late November.
- Lace Pattern Punching: Use clay loops and ribbon tools to "punch" small, intricate holes in a repetitive lace pattern. This works best on white "Lumina" pumpkins.
- Geometric Terrariums: Carve a large circular window into the side of a wide pumpkin, scrape the interior clean, and treat it with a sealant. Place a battery-operated candle and small ceramic figurines inside to create a "shadow box" scene.
- The "Smoking" Jack-o'-lantern: Carve a traditional face but leave a small hole in the back to insert a small, water-based fog machine or dry ice in a bowl of water for a continuous eerie effect.
- Wildlife Silhouettes: Using a template, etch the shapes of owls, bats, or foxes. These naturalistic designs transition perfectly from Halloween to Thanksgiving.
- Stacked Topiary Lanterns: Carve three pumpkins of descending sizes with vertical stripes or swirls. Stack them on a dowel rod to create a glowing pillar.
- Negative Space Monograms: Carve out a large circle or square, then leave the letter "floating" in the center, held by thin "bridges" of pumpkin skin.
- The Dipped-Carve Look: Paint the bottom half of the pumpkin in a solid matte black or gold, then carve geometric patterns only through the painted section for a high-contrast modern look.
The Art of the No-Carve Pumpkin
No-carve pumpkins are the gold standard for 2026 due to their incredible shelf life. Because the skin is not breached, these pumpkins can remain fresh on a cool porch for up to three months.
- Chinoiserie Chic: Use blue acrylic paint on white pumpkins to mimic traditional ginger jars. Focus on delicate floral and bird motifs.
- Velvet Flocking: Apply spray adhesive and craft flocking powder to give pumpkins a soft, luxurious texture that mimics high-end interior textiles.
- Gold Leaf Accents: Use gilding size and 24k-style gold leaf sheets to cover the stems or create "dripping" patterns from the top down.
- Pressed Flower Decoupage: Collect autumn leaves or late-summer blooms, dry them, and use matte Mod Podge to adhere them to the surface of a pale pumpkin.
- Copper Leaf Veining: Use a thin brush to apply adhesive in a "marble vein" pattern, then apply copper leaf for a sophisticated, metallic look.
- Matte Black and Chalk Art: Paint a pumpkin with chalkboard paint. Use liquid chalk markers to draw intricate, erasable designs or daily countdowns to Halloween.
- Terrazzo Texture: Paint the pumpkin a solid neutral color and then apply small, irregular "chips" of colored paint or vinyl to mimic Italian stone.
- Tartan Plaid Painting: Using painter’s tape, create a grid and layer translucent shades of green, red, and black to create a cozy flannel effect.
- Ombré Sprays: Use three shades of the same color (e.g., dark orange, sunset orange, and pale peach) to create a seamless vertical gradient.
- Drip Art: Turn the pumpkin upside down and pour thick acrylic paint over the base, letting it run down the sides toward the stem.
Botanical and Natural Elements
Integrating other organic materials into your pumpkin decor is a hallmark of 2026’s "Biophilic Design" trend. These ideas emphasize the harvest rather than just the holiday.
- Succulent Toppers: Using a bed of damp sphagnum moss on top of a flat pumpkin (like a Cinderella variety), glue or pin succulents to the crown. The pumpkin provides a pedestal, and the succulents can be replanted later.
- The Corn Husk ruff: Glue dried corn husks around the base of the pumpkin's stem, creating a sunburst effect that adds height and texture.
- Acorn Cap Mosaic: Collect acorn caps and hot-glue them in a tight pattern over the entire surface of a small "Jack Be Little" pumpkin.
- Dried Wheat Crown: Create a "wreath" of dried wheat stalks or pampas grass that sits around the top of the pumpkin.
- Cinnamon Stick Bundles: Glue cinnamon sticks vertically around the circumference of a small pumpkin to create a fragrant, textured "sleeve."
- Bark-Wrapped Base: Use thin strips of birch bark (fallen, not stripped from live trees) to wrap the lower third of a white pumpkin for a rustic, woodland feel.
- Feather Accents: Adhere pheasant or turkey feathers in a radial pattern around the stem for a sophisticated, autumnal "headdress."
- Berry Vines: Wrap artificial or dried bittersweet vines around a stack of heirlooms to "tie" them together visually.
- Pinecone Scales: Disassemble large pinecones and glue the individual "scales" to a pumpkin in an overlapping "fish-scale" pattern.
- Dried Citrus Rounds: Slice oranges and lemons thinly, dehydrate them, and use them as translucent "scales" on a white pumpkin for a bright, kitchen-ready look.
Comparison of Pumpkin Decorating Techniques
Deciding which method to use depends on your available time and where the display will be located.
| Technique | Longevity (Real Pumpkin) | Difficulty | Best For | 2026 Trend Status |
|---|---|---|---|---|
| Traditional Carving | 5–7 Days | Moderate | Halloween Night | Classic / Nostalgic |
| Surface Etching | 7–10 Days | High | Sophisticated Porch | Rising Popularity |
| Acrylic Painting | 4–8 Weeks | Low | Indoor Centerpieces | High-Design |
| Botanical/Glued | 6–10 Weeks | Moderate | Long-term Fall Decor | Sustainable/Eco-Chic |
| Decoupage | 4–6 Weeks | Moderate | Custom Patterns | Artisanal/Craft |
| Drilling | 5–7 Days | Low | Modern Lighting | Functional/Easy |
Textile, Fabric, and Multi-Media Ideas
For those who prefer to avoid the mess of paint or the danger of knives, textile-based decorations offer a warm, tactile alternative.
- Macramé Netting: Tie a simple "pot hanger" style macramé net out of cream cotton cord to hold a small-to-medium pumpkin.
- Cheesecloth "Mummies": Wrap a pumpkin in tea-stained cheesecloth and add two large black buttons for eyes.
- Sweater Sleeves: Repurpose old cable-knit sweaters by cutting off the sleeves and sliding them over pumpkins, cinching them at the stem.
- Vintage Button Collage: Use a variety of white and cream vintage buttons to create a "monogram" or a simple "BOO" on the side of a pumpkin.
- Nailhead Trim: Use upholstery tacks (brass or silver) to create "studded" patterns or lines following the pumpkin's natural ribs.
- Ribbon Corsets: Use pins to secure vertical ribbons along the ribs, then "lace" them together horizontally for a Victorian-inspired look.
- Tulle Overlays: Wrap a pumpkin in black or purple tulle and tie it at the stem with a velvet ribbon for a "witchy" but elegant vibe.
- Embroidered Look: Use a small awl to poke holes in a pattern, then "sew" through the holes with thick embroidery floss or yarn.
- Pom-Pom Accents: Glue tiny colorful pom-poms into the vertical grooves of a white pumpkin for a playful, kid-friendly centerpiece.
- Rhinestone Constellations: Similar to the drilling method, but use adhesive-backed rhinestones to create stars that catch the daylight.
Curated Displays and Installations
The way you arrange your pumpkins is as important as how you decorate them. In 2026, "The Grand Entryway" is the primary goal for autumn curb appeal.
- The Cascading Staircase: Arrange pumpkins of varying sizes and colors on every other step of your front porch, mixed with potted mums and kale.
- Fireplace Hearth Grouping: Use a mix of "no-carve" pumpkins and battery-operated candles inside the mouth of a non-functional fireplace.
- The Kitchen Island "Runner": Align small, colorful gourds and mini-pumpkins in a straight line down the center of your island, interspersed with eucalyptus.
- Outdoor Lantern Filling: Large glass lanterns filled with "Jack Be Little" pumpkins and fairy lights create a warm, non-spooky glow.
- Floating Pumpkin Pond: If you have a water feature, some varieties of pumpkin actually float. Use them as "lily pads" for a unique garden display.
- The Monochromatic Pile: Choose one color (e.g., all white or all deep green) and create a massive pile of at least 15-20 pumpkins for a high-impact, minimalist look.
- Woven Basket Display: Use a large wicker "cornucopia" or low basket to house a "harvest spill" of pumpkins and dried corn.
- Window Box Harvest: Replace summer flowers in your window boxes with small pumpkins, trailing ivy, and ornamental peppers.
- The "Gateway" Arch: Secure small, lightweight faux or real pumpkins to a garden arbor using wire to create a literal tunnel of harvest.
- Dining Table "Cloche": Place a single, perfectly decorated mini-pumpkin under a glass cloche for a sophisticated, museum-like centerpiece.
Technical Preservation and Safety
To ensure your 2026 displays last as long as possible, follow these professional preservation steps.
First, always wash pumpkins in a solution of one gallon of water and one tablespoon of bleach (or a vinegar-based alternative for an eco-friendly approach) before decorating. This removes soil-borne bacteria and fungal spores that accelerate rot. For carved pumpkins, applying a thin layer of petroleum jelly or a commercial pumpkin preservative spray to the cut edges will help seal in moisture and prevent the "shriveling" effect.
Safety is paramount, especially regarding lighting. In 2026, traditional tea lights are largely being replaced by high-lumen, remote-controlled LEDs. These are safer, especially near dry corn husks or hay bales, and often come with timers that save battery life. If you do use real candles, ensure they are in a glass votive and that the pumpkin has a "chimney" hole at the top to let heat escape.
Frequently Asked Questions
What are the best pumpkin varieties for carving vs. painting?
For carving, the "Connecticut Field" pumpkin is the standard due to its thin walls and large interior cavity. For painting and no-carve techniques, "heirlooms" like the "Casper" (white), "Jarrahdale" (blue-grey), or "Cinderella" (flat and red) are preferred because they have smoother skins and more interesting shapes.
How do I stop squirrels from eating my pumpkin display?
According to many horticultural extension services, including the University of Illinois Extension, squirrels are often deterred by hot pepper spray or commercial animal repellents. A mixture of water and cayenne pepper sprayed on the pumpkin's exterior is a common home remedy that doesn't harm the wildlife but discourages chewing.
Is it safe to leave painted pumpkins outside?
Yes, but you should use acrylic-based paints and a clear outdoor sealant. Extreme temperature fluctuations can cause the paint to crack, and heavy rain might dull the finish. For the best results, keep painted pumpkins on a covered porch or bring them inside during severe storms.
Can I eat my pumpkins after they have been used for decor?
If the pumpkin was carved, it is not safe to eat because it has been exposed to the open air and potential bacteria. If the pumpkin was left whole and simply painted or decorated with external elements, it may still be edible, provided you peel the skin thoroughly. However, "Jack-o'-lantern" varieties are generally bred for size and strength, not flavor; sugar pumpkins (pie pumpkins) are much better for cooking.
What is the most eco-friendly way to dispose of pumpkins?
Don't simply throw them in the trash. Pumpkins are highly compostable. Many local parks and farms host "Pumpkin Smashes" in November to create compost for spring planting. You can also chop them up and bury them in your garden or leave them (if they have no paint or glitter) for local wildlife to eat.
Recommendation for 2026 Decorators
For the most impactful and sustainable display this year, adopt the "Layered Approach." Start with a base of uncarved, high-quality heirloom pumpkins in mid-September to establish your fall aesthetic. As Halloween approaches, add 3-5 strategically carved or etched lanterns to provide that classic spooky glow. This method ensures your porch remains vibrant for the entire two-month season while minimizing the effort of replacing rotted fruit. Always prioritize LED lighting for safety and use natural deterrents like peppermint oil or cayenne to protect your "art" from local squirrels.